
Photo guide updated
Choose rock identification tools for the clues you can see
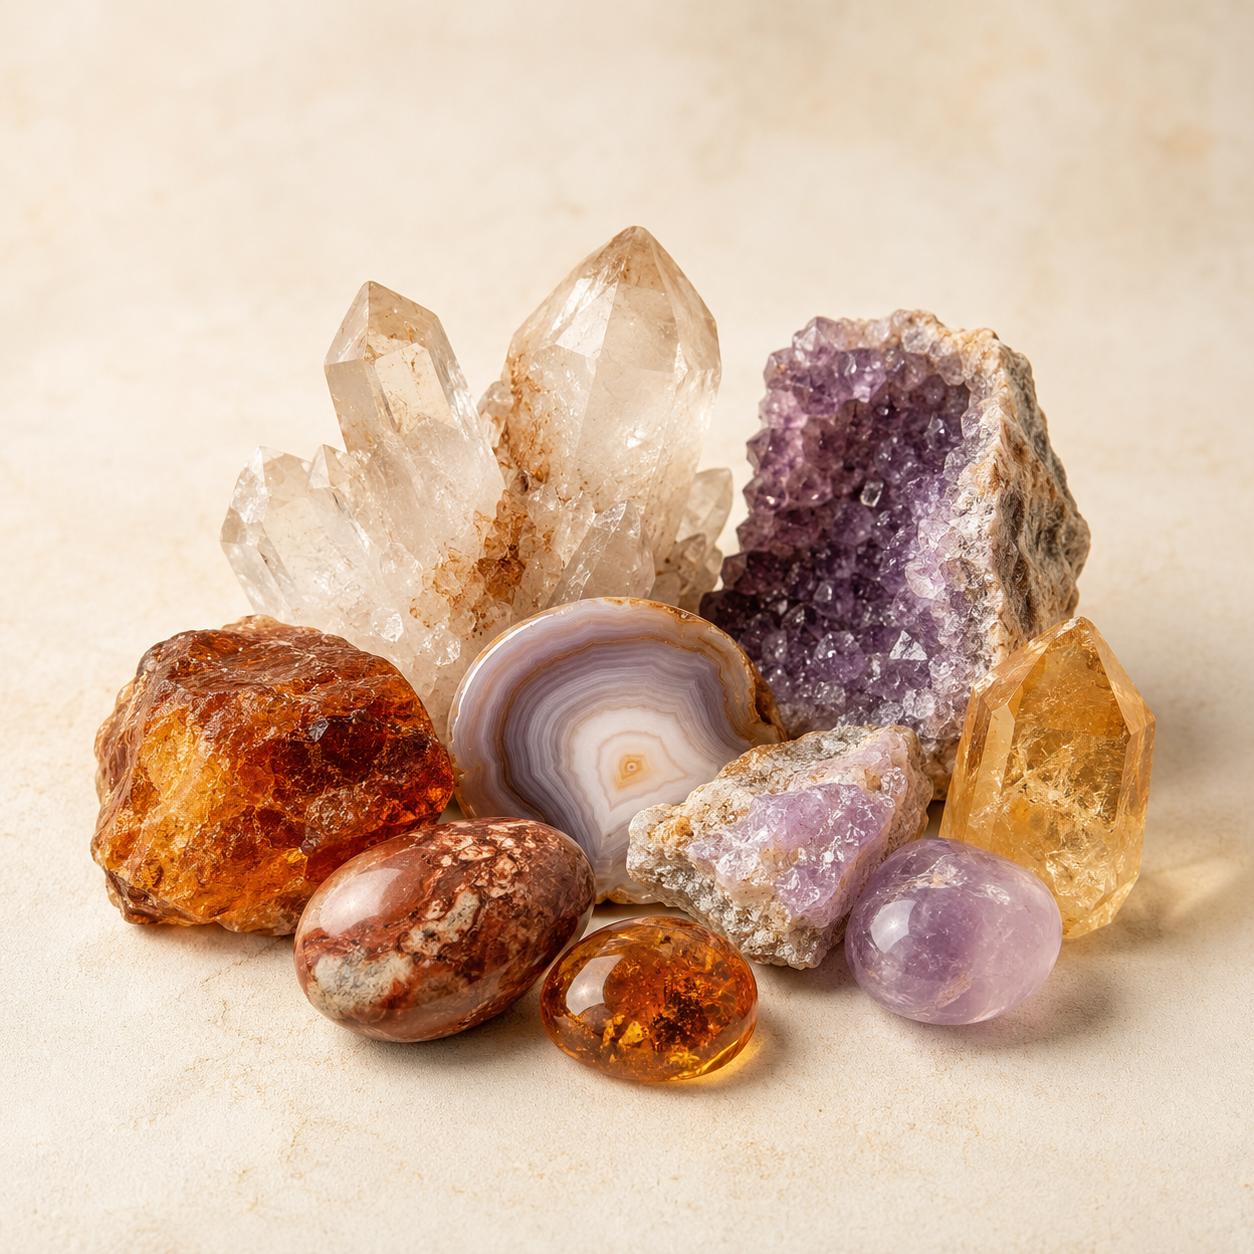
These eleven rock identification tools offer different starting points for one question: what visible features does this specimen support? Pick the general rock identifier when you have no useful starting label. Pick Mineral identifier for a distinct grain or crystal in a rock, and Crystal identifier for a point, cluster, tumbled piece, or carved material where natural faces and translucency matter. The tool does not turn a photo into a laboratory test. It simply asks more useful context questions before comparing the images.
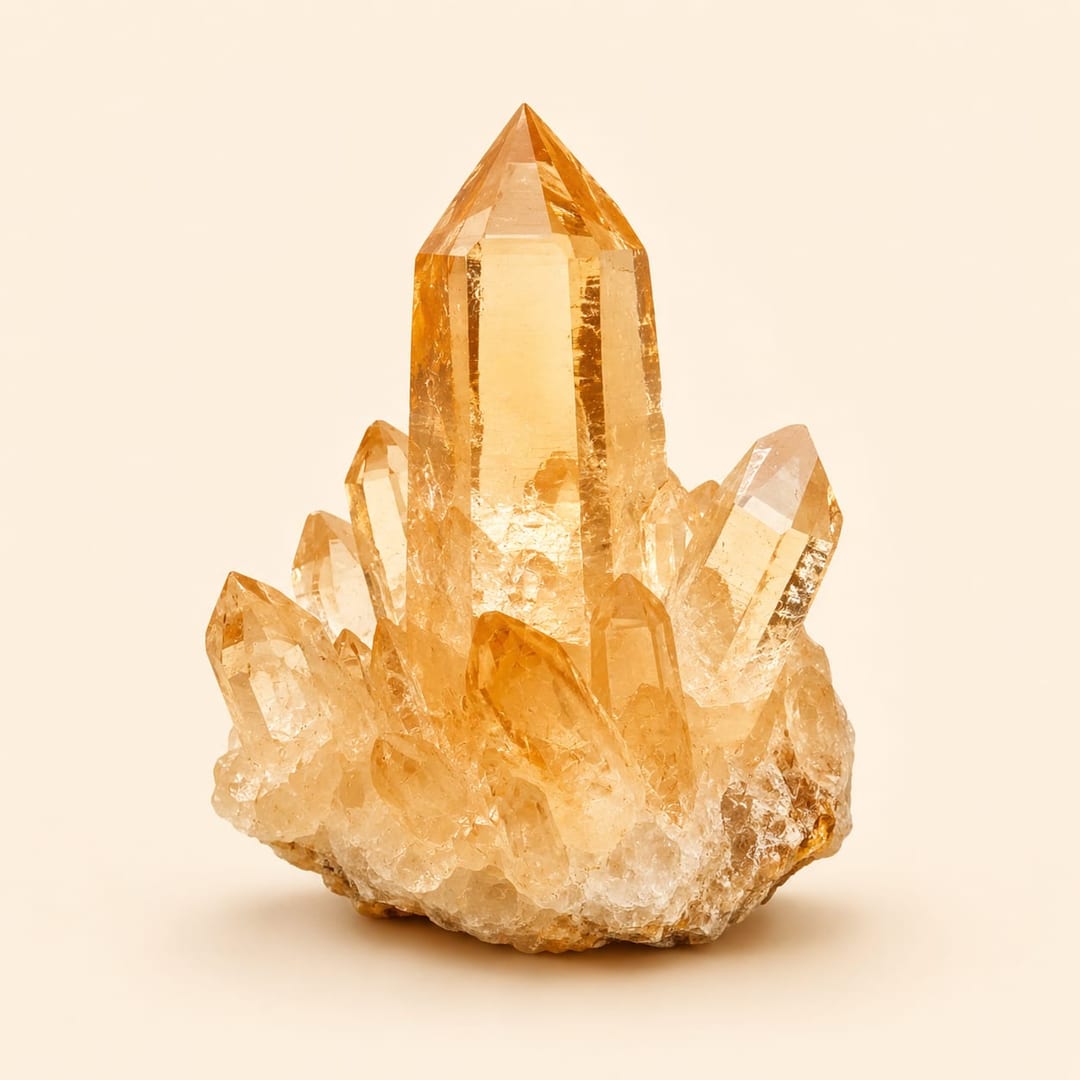
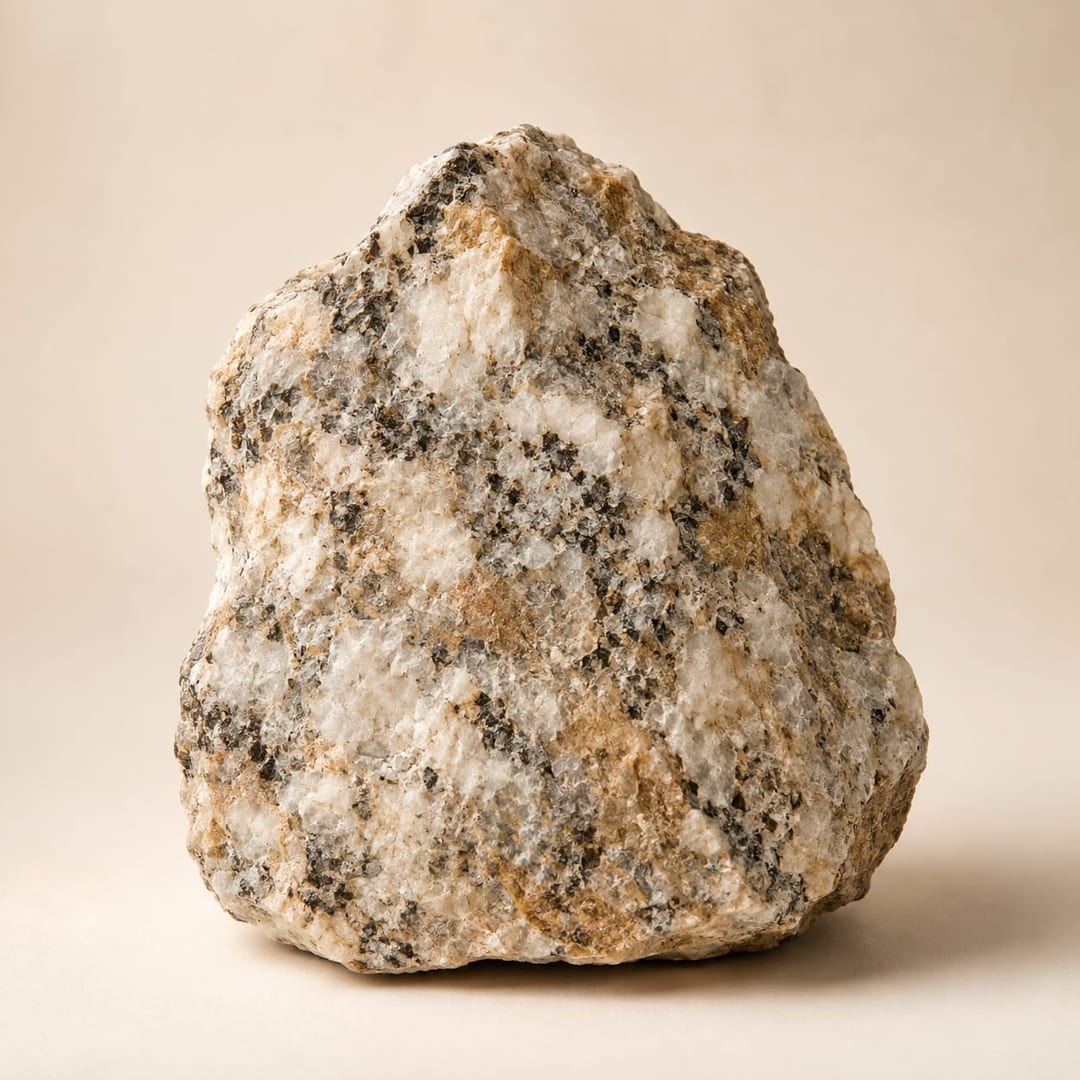
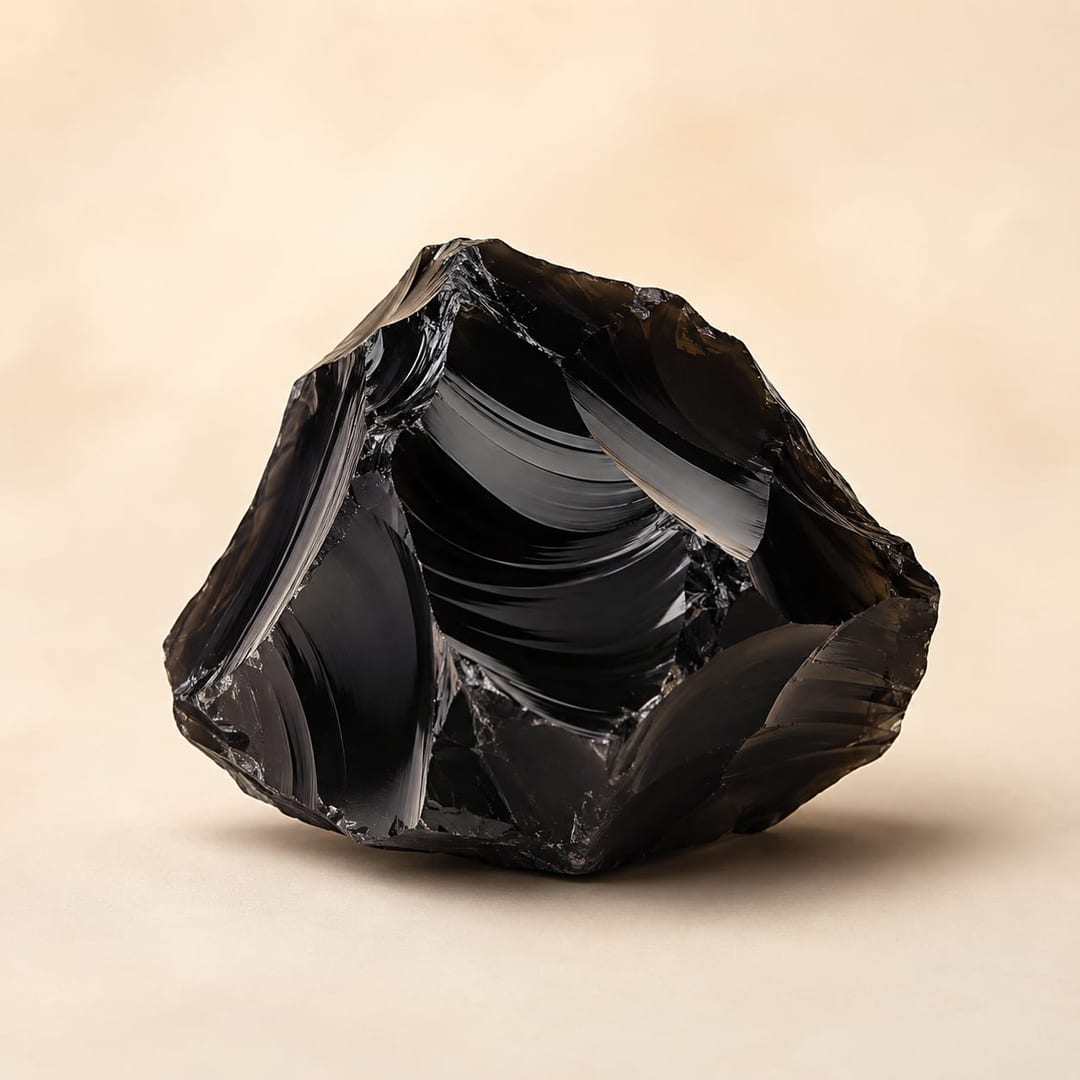
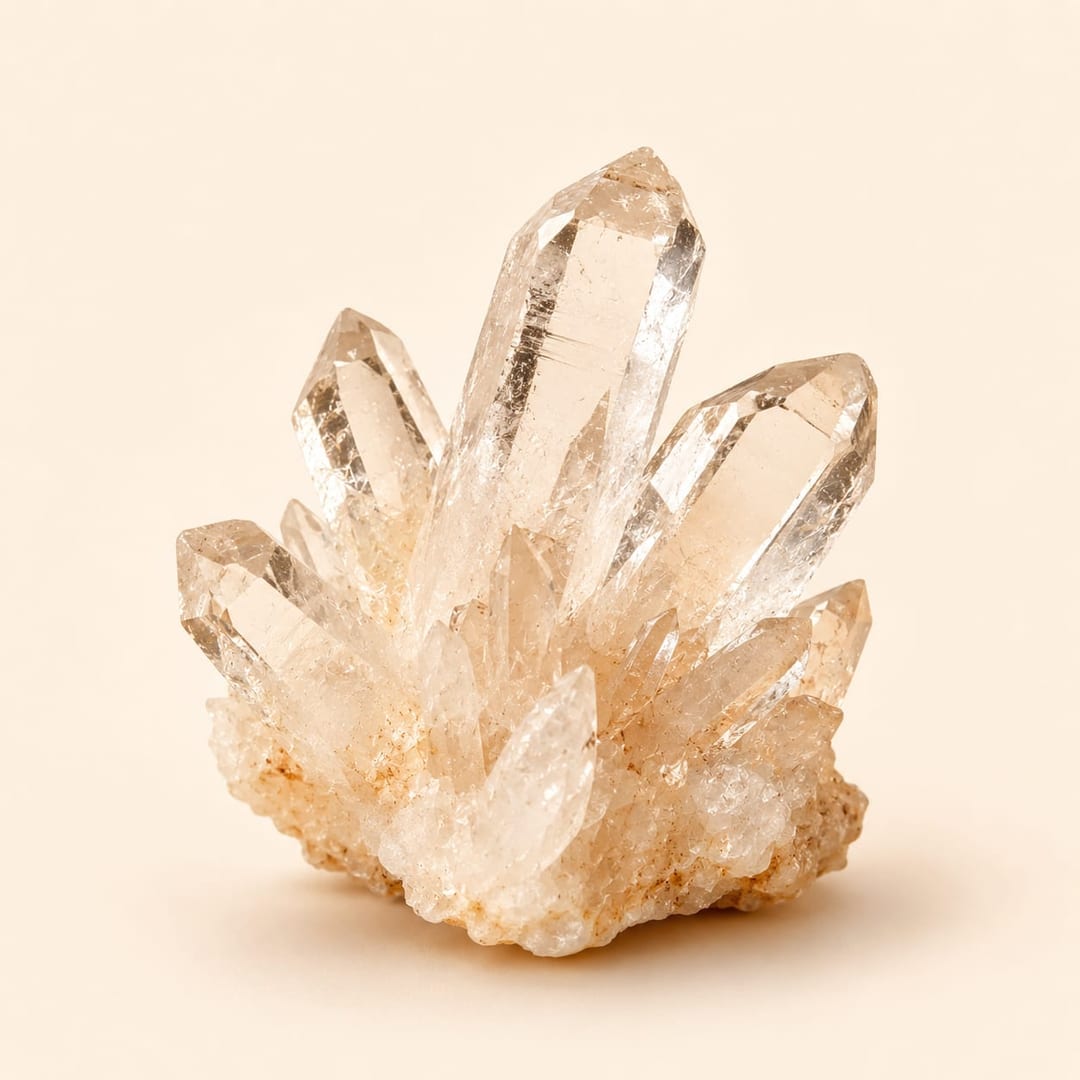
Choose Quartz identifier when a possible quartz crystal, vein, or translucent piece is the subject. Granite identifier fits an interlocking, speckled surface or a decorative stone whose geological name is uncertain. Obsidian identifier is for a dark, glassy specimen with an existing fracture or flow-like texture; Basalt identifier is for dense dark rock, visible holes, or a fine matrix. The layered-rock tools cover limestone, sandstone, slate, and quartzite. A tool is a way to focus your evidence, not a claim that the label is already correct.
Use the mineral and crystal tools for structure, not color
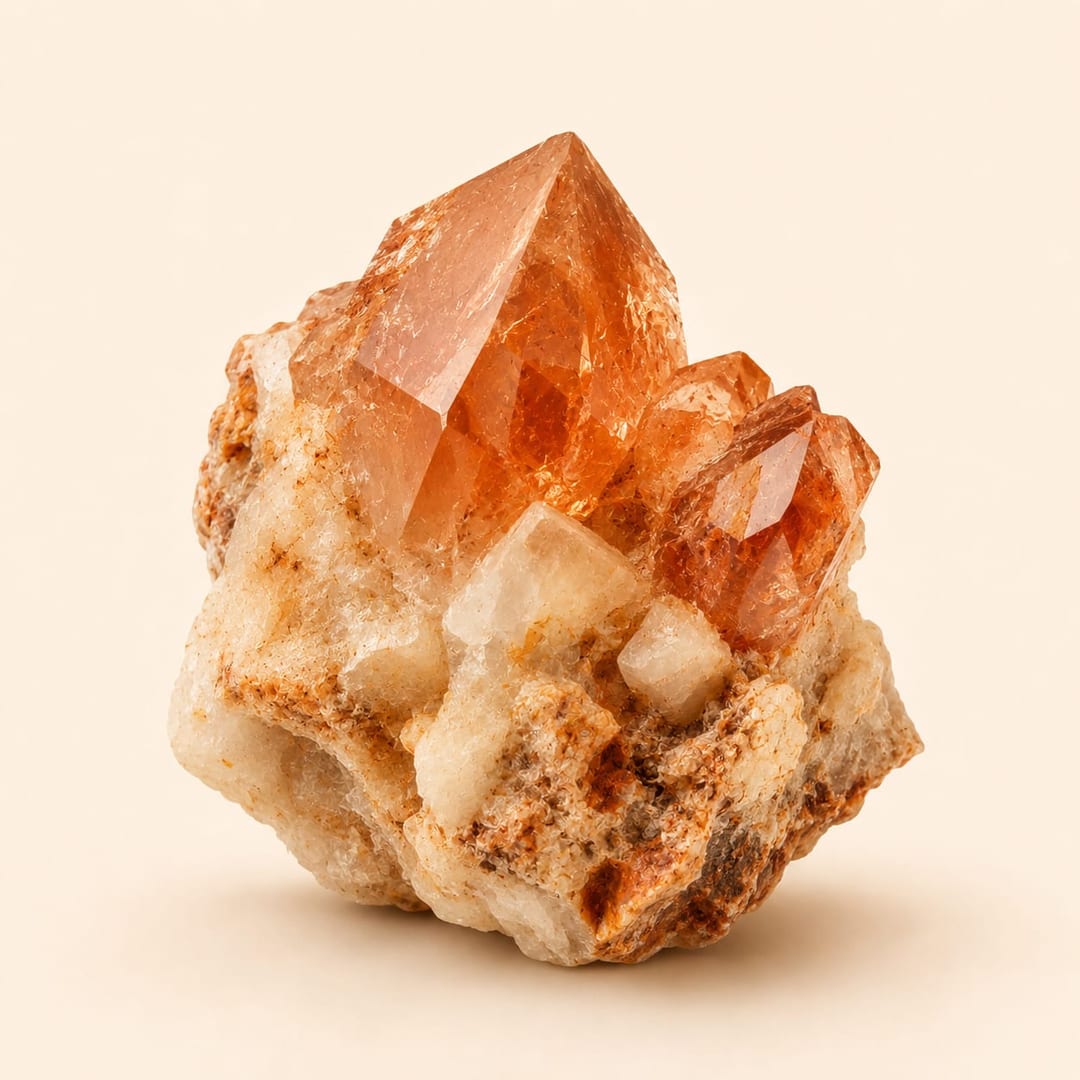
Use Mineral identifier when the useful question is about a visible mineral component: perhaps a shiny grain in granite, a crystal face in a matrix, or a loose specimen with one dominant material. The best task is specific: compare glassy luster with a dull host rock, show repeated faces, or photograph an existing broken surface. Include a whole-specimen image and a close view. A color-only crop usually makes a mineral name sound more certain than the evidence allows.
Crystal identifier is more helpful when form has been changed by polishing, tumbling, carving, or mounting. Ask it to compare a natural point or cluster with a manufactured-looking shape, and show the entire object as well as a tip or side. For a translucent object, indirect daylight reveals color distribution and inclusions better than a harsh flash. The result should keep glass, coatings, and commercial crystal names in the alternatives when the photo cannot distinguish them.
Match igneous tools to grain size, glass, and texture
Granite identifier works best for a coarse, interlocking mix of light and dark grains. A useful example is a rough field cobble or a countertop edge where you want to compare visible grain relationships with banding. Photograph a broad surface, then a sharp close-up with scale, and an unpolished edge if one already exists. Decorative-stone labels can use broader trade names, so treat the tool as a geological comparison rather than a certificate for a building material.
For a black, glassy piece, select Obsidian identifier and show any existing curved fracture, thin edge, bubbles, or flow bands. Manufactured glass and industrial slag can look similar, so origin should stay open unless the photo shows more than shine. Select Basalt identifier for a fine-grained volcanic-looking rock, especially when holes, fresh matrix, or sparse crystals are visible. A task such as “compare round holes with a dense dark surface” is stronger than “tell me what this black rock is.”
Use layered-rock tools when the edge tells the story
Limestone identifier is for possible shell fragments, rounded grains, fine pale texture, or weathered layers. A complete task might show a whole specimen, a close-up of a fragment, and a side that reveals bedding. Do not add an acid test or an unverified reaction to the form; the tool is designed for visible evidence only. Marble, dolostone, and other fine sedimentary rocks can remain plausible when grains or texture are unclear.
Sandstone identifier focuses on grains, boundaries, and bedding. It is useful for deciding whether grains look separate, too small to resolve, or tightly fused. Slate identifier is for flat surfaces and an edge that may show cleavage, layers, or sheen; it cannot assess roofing performance or asbestos status. Quartzite identifier is for a hard-looking granular surface, rough fracture, or polished stone where sandstone and marble are alternatives. In every case, an already exposed edge is useful; breaking a specimen to make a better upload is not required.
Build one photo set around one comparison
Each tool accepts photos of one specimen. Start with a full view and scale, then add a close detail that answers the tool’s prompt, such as crystal shape, grain boundary, a fracture, a layer, or a hole. A third image should add a new angle rather than repeat the first. Keep the object dry unless it was already wet, use ordinary indirect light, and avoid filters. A ruler beside the object gives more information than a hand holding a close crop.
Write the short observation field as a record of what you see, not a conclusion. “Fine dark matrix with scattered pale grains” is useful. “Definitely basalt” is not evidence for the next comparison. If a surface is polished, coated, damaged, or part of a tile or countertop, say so. The tool can then describe why a photo is limited and suggest the next safe observation without confusing the specimen’s appearance with its composition, value, provenance, or suitability for a project.
Read the answer as a comparison with limits
A result presents a possible primary match, visible observations, limitations, and alternatives. Read those parts together. Check whether the observations are present in your images and whether a limitation removes a feature that would be needed to separate the leading options. If the result is uncertain, that is a useful outcome: it tells you which missing clue would make another photograph worthwhile and which names should remain provisional.
Photo identification cannot establish chemical composition, hardness, streak, density, treatment history, authenticity, commercial grade, or monetary value. It also cannot confirm where a specimen came from. When a name affects a safety decision, sale, collection record, field permit, or scientific report, use the result as a question for a qualified local geologist, museum, university collection, or laboratory. The tool pages are for learning and comparison, not a substitute for examination.
Plan your allowance across all tools
All eleven photo tools and the general identifier share the same daily identification allowance. Switching from Quartz identifier to Basalt identifier does not create a separate pool, and signing in does not reset usage. Free includes three identifications per day, resetting at 00:00 UTC. After using all three, further identifications or reanalysis that day require Plus, or you can wait for the next reset. A supplemental review of a saved specimen also uses one identification allowance because it creates a new result version from added evidence.
Use that shared allowance deliberately. If you are choosing between two tools, select the one whose prompt best matches the clearest visible feature instead of submitting the same photos to both. After a result, ask whether one added angle, a scale reference, or an existing edge would resolve the uncertainty. Save the record if you want to preserve the original notes and later observations. That gives you a traceable comparison without spending requests on near-identical uploads.
A practical sequence is to begin with the general tool for an unknown beach stone, then choose a focused tool only when the first result points to a visible feature worth testing. For example, a possible glassy volcanic surface can move to Obsidian identifier with a better fracture photo, while a granular pale sample can move to Sandstone or Quartzite identifier with scale. Treat that second task as a new comparison prompted by evidence, not a vote between names.