
Gold identifier by photo
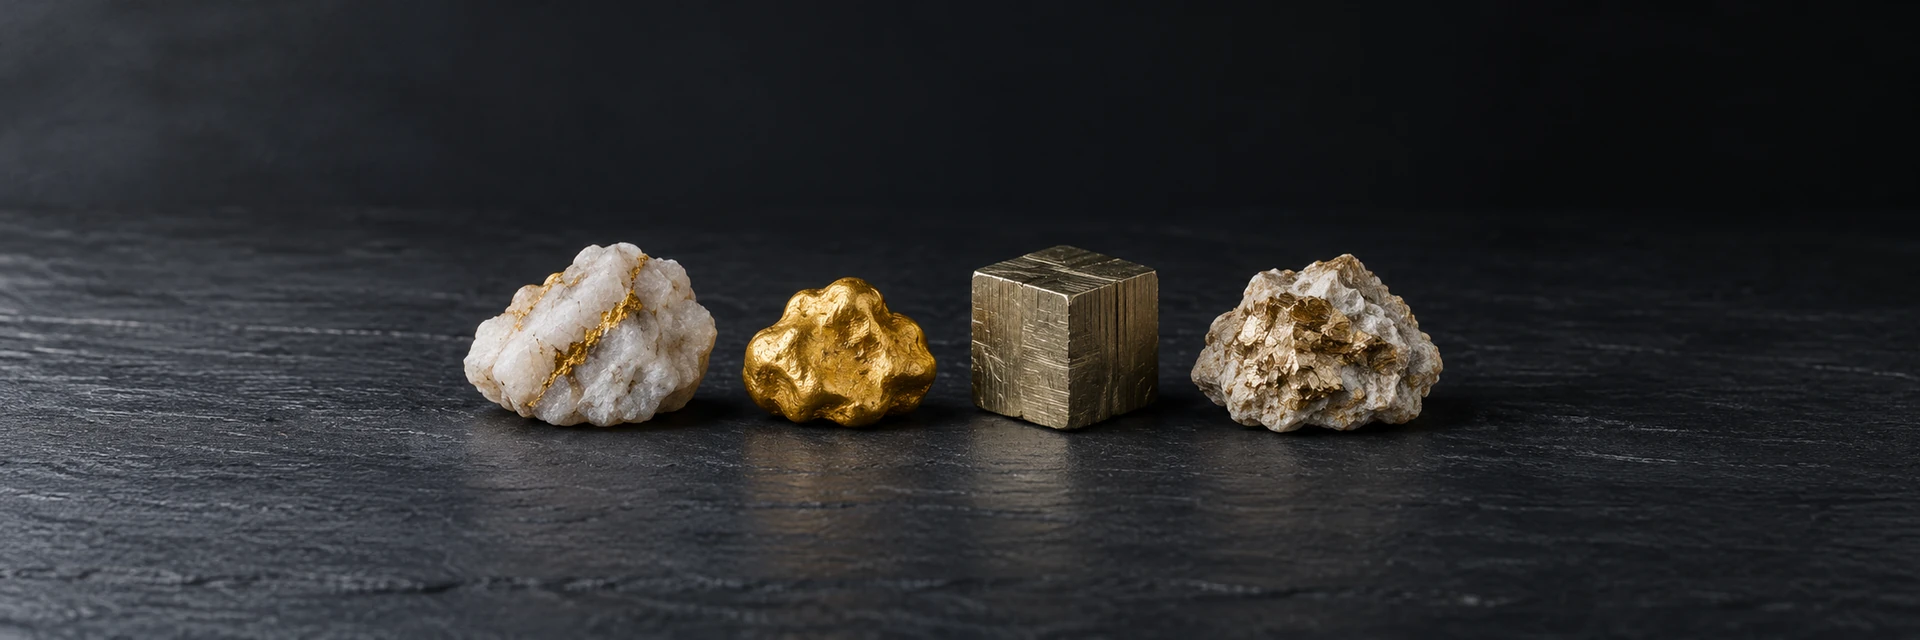
Compare a gold-colored find with pyrite, chalcopyrite and mica by photo. Explore its form, color and host rock, then ask a follow-up.
- Gold, pyrite & mica
- Explains each match
- 3 free identifications per day
Upload gold-colored find photos
Drag your photos here, or choose a file to begin.
JPG, PNG, WebP or HEIC · Up to 3 photos · 40 MB each · You can also paste a photo
Pyrite (fool's gold) · photo by James St. John, CC BY 2.0 · Resized and converted to WebP.
- 01
Upload Photos of One Gold-Colored Find
Add one to three views of a gold-colored find: whole find beside a ruler, opposite side in diffuse daylight and focused close-up of the gold-colored part. JPG, PNG and WebP files are supported, up to 40 MB each. A location and your own observations are optional.
- 02
Review Matches and Evidence
A result presents a suggested name alongside visible clues, limitations and possible alternatives. Read those explanations together. Compare the explanation with your own photographs and leave the name open when the visible evidence does not distinguish the candidates.
- 03
Ask a Follow-up Question
Use the available follow-up to ask about lookalikes, typical properties or care. The reply stays with that specimen. When you want to investigate another find, start a new identification with its own photos.
Photo-based identification can suggest possible matches, but it cannot definitively confirm a specimen’s actual composition.
Keep exploring
Identify Another Rock, Try a Sample, or View Your History
Choose an identification, a sample walkthrough, or your saved history.

Sample walkthrough
Try the pyrite (fool's gold) photo and review its result.
Pyrite (fool's gold) · photo by James St. John, CC BY 2.0 · Resized and converted to WebP.
Photo guide
Get practical tips for showing shape, surface details and different angles.
Read the guidePhoto guide updated
How to use the gold identifier
The gold identifier compares a gold-colored find with the minerals that most often fool people: pyrite, chalcopyrite and weathered mica. Upload one to three photos of the same find: the whole find beside a coin, the opposite side in daylight, and a sharp close-up of the gold-colored part. Then choose where it came from: creek or placer gravel, a quartz vein or mine dump, bought or inherited, or not sure.
The result lists possible matches, the visible clues behind each one, the lookalikes, and what the photos could not settle. It ends with a follow-up question you can answer or ask about, most often whether the find feels heavy for its size or exactly where it was found.
Gold-colored grains have several possible explanations, including pyrite, chalcopyrite, mica, coatings and native gold. The tool compares visible form, luster and surrounding material together. It does not require a smooth nugget shape: natural gold can also form rare crystals. A yellow color, a rounded grain or the absence of obvious tarnish never proves gold.
Metal or mica: the first check
Start by describing the reflected light and the form of each visible grain. Thin flat flakes that flash at a similar angle may support a mica comparison. The USGS names pyrite, chalcopyrite and weathered mica among familiar gold lookalikes. Avoid deciding from glitter alone, because a photograph may not resolve the individual grains.
A metallic luster on a solid lump, grain or crystal means a metal or a metallic mineral, and shape comes next. The gold identifier treats glitter in sand differently from one solid grain, so a close-up of a single grain beside a coin beats a wide view of a sparkling pan.
Cubes, crystals or rounded grains
Pyrite grows as sharp cubes, often with fine parallel lines on the faces, as pyritohedra with twelve five-sided faces, or as angular granular masses. Chalcopyrite is usually massive and brittle, with blue, purple and red tarnish. Marcasite is a paler brass with a greenish tint, in radiating, cockscomb or spear shapes, and bronze-colored pyrrhotite is often magnetic.
Gold commonly occurs as small flakes, sheets, irregular grains and nuggets. Crystalline gold also exists, including rare cubic and octahedral forms described by the Utah Geological Survey. Clear striated cubes can favor pyrite, but crystal faces alone do not exclude gold. Keep an unresolved mineral comparison when the shape is too small, distorted or coated to interpret.
Color in shade and in light, and tarnish
Gold, pyrite and chalcopyrite can overlap in apparent yellow color. Camera white balance, reflected surroundings, exposure and coatings can shift that appearance. Compare a neutral-light overview with another angle, noting whether the surface is pale brass, yellow, iridescent or patchy. Tarnish may support some alternatives, but a clean yellow surface does not certify gold.
Use diffuse daylight and open shade, keep a neutral ruler in the frame and avoid filters. Record whether a bright patch moves with the reflection rather than calling every change a material property. The same grain can look different between photographs. If the useful detail is lost in glare, a better exposed view helps more than a confident color label.
Host rock and setting: quartz veins, creek gravel and black sand
Gold can occur in rock-hosted deposits and in sediment concentrated by erosion. Quartz veins and creek gravels provide context, but neither establishes that a visible grain is gold. The USGS describes lode and placer deposits; that geological setting must remain separate from an identification of the particular speck in your photograph.
Pyrite turns up almost everywhere: in slate, coal, shale, quartz veins and concretions, so a quartz vein alone does not settle it. A real nugget feels heavy for its size, but a photo cannot weigh anything. Mention the heft and the setting when the gold identifier asks its follow-up.
For the white vein rock itself, use the quartz identifier. For a crystal you cannot place, compare it with the mineral identifier.
Gold identifier lookalikes and the next photo
More than one row can apply to a single rock, since pyrite and gold can share a quartz vein.
What you see | What it may point to | Photo that helps next |
|---|---|---|
Sharp cubes or faces with fine parallel lines | Pyrite (fool’s gold) | Close-up of one face beside a coin |
Brassy mass with blue, purple or red tarnish | Chalcopyrite | The same spot in shade and in sun |
Thin flakes that flash, then go dark as it turns | Weathered mica | Two photos from different angles |
Pale greenish brass in spear or cockscomb shapes | Marcasite | Side view of the shapes |
Bright, even paint, mold seams or green crust | Painted rock or brass replica | The underside and any worn spot |
Rounded flake or nugget, even butter-yellow, no faces | Native gold candidate | Close-up beside a coin in open shade |
Painted rocks, replicas and what the gold identifier cannot judge
Gold-colored manufactured material also belongs in the comparison. A visible coating boundary, mold seam, regular glitter or worn area may suggest paint, a cast object, plated material or glass. None establishes the exact alloy or coating. Flakes in a souvenir vial remain unverified material. For jewelry, record the item as manufactured and explain that photos cannot assay the metal or authenticate a stamp.
The gold identifier cannot measure gold content, karat, weight or recoverable value. Qualified laboratories and assay services can choose suitable analytical methods when composition matters. Do not scratch, crush, heat or apply acids to an unknown find for this tool. A prospecting group may help document visible clues, but a visual opinion is separate from an analytical result.
Record the target grain and its alternatives
Use an overview to show where the yellow material sits, followed by a detail with a millimeter ruler in the same plane. If the rock contains several colors or grains, identify the patch you want compared. A brassy crystal beside a pale vein is a different observation from loose glitter in sediment. Keep both the grain and its surrounding material available for review.
Write down what was directly observed and what came from a seller, old label or collection story. If you already measured mass or noticed magnetic attraction, give the method and the part examined; the tool treats those notes as unverified context. Do not invent a density from apparent size. A follow-up can focus on the next useful photograph while leaving metal content unresolved.
Panning, claims and other gold questions
Can I pan for gold on public land?
Check current rules with the land manager before collecting or panning. Public access does not automatically include permission to remove minerals, and protected areas or active claims can impose different restrictions. The Utah Geological Survey links local recreational-prospecting guidance; rules elsewhere may differ.
What if someone has a mining claim on the creek?
Ask the relevant land manager and claim holder about access and mineral rights before disturbing material. A stream being publicly accessible does not settle collection permission. Keep a source note for an existing find, and do not treat an identification result as permission to prospect.
Is my gold real, and what is it worth?
A photo can point toward native gold but cannot confirm it or show its purity, weight or value. An assay office can measure gold content.
Why does my gold glitter in the sun but look dull in the shade?
Angle-dependent reflections can support a mica or other reflective-mineral comparison, but camera exposure changes also matter. Upload the same grain in two neutral-light views with scale. The tool should explain the visible difference without treating a shade photograph as proof of composition.