
Identifying river rocks starts with two different observations: how the pebble has been worn and what it is made of. Water can smooth the outside of very different rocks. A grain, band, seam or existing broken edge usually gives you a better place to begin than the rounded shape.
River rock identification by texture
| Candidate | Visible clues |
|---|---|
| Quartz pebble | A cloudy or milky mass can look even across most of the pebble. Look for a glassy existing break and compare whether separate grains are actually visible. |
| Granite or gneiss | Both can show light and dark minerals. Compare whether grains are distributed irregularly or gathered into bands that continue around the pebble. |
| Sandstone or quartzite | Check whether the best exposed edge reveals distinct sand-sized pieces or a tightly interlocked surface. Preserve both candidates where the boundaries are unclear. |
| Conglomerate | Look for smaller rounded pebbles locked inside one solid rock. On a bar, loose stones sitting against one another can create a similar pattern in a photograph. |
| Dark fine-grained rock | A gray or black pebble could have several origins. Inspect it for cavities, a split surface, glassy patches or a thin vein before choosing a name. |
Photo examples
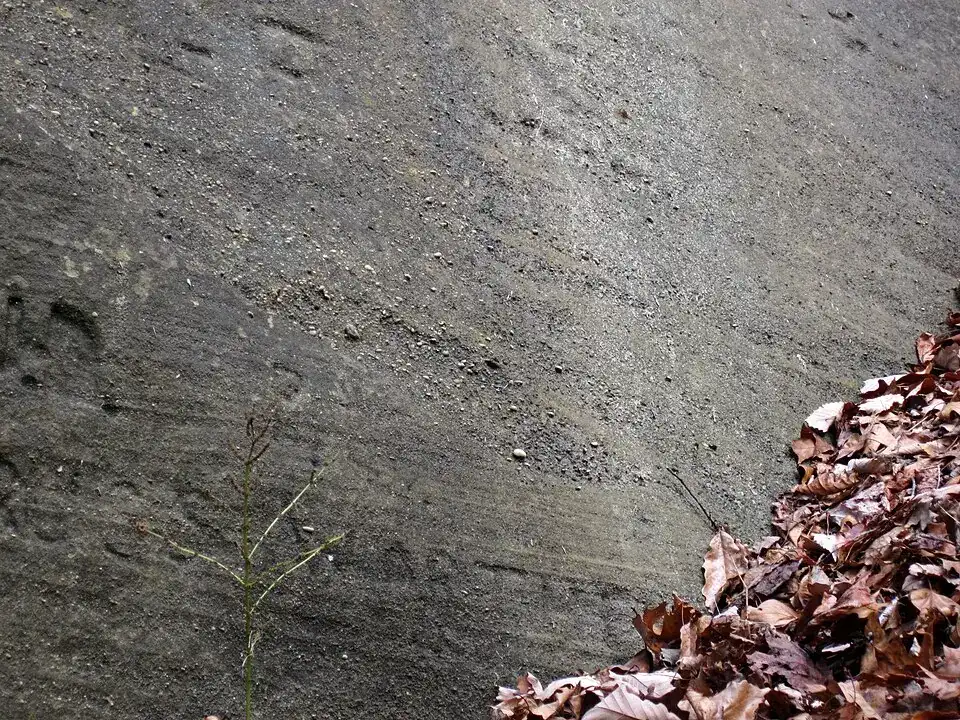

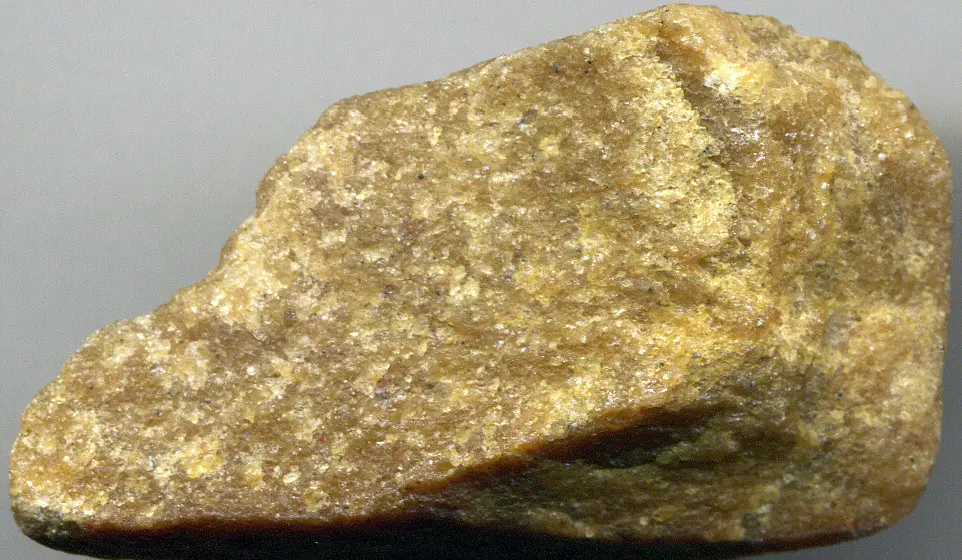

Separate a water-worn surface from the rock inside
Look at the pebble dry first if you can do so safely. A wet skin can darken a rock and make grains less distinct. Rotate it so the light sweeps across the surface. An exposed edge, a worn chip or a small ridge may show how the grains fit together. Compare that patch with the most polished side. The contrast tells you which clues belong to the whole rock and which might come from wear.
Rounding happens during transport as material collides or is abraded. The rock’s original shape and its resistance to wear also matter. A flat pebble may have started as a thin slab, and a hard piece can preserve an angular corner even after some transport. Treat shape as context. A smooth oval does not provide a material name or tell you how far the stone traveled.
Look for boundaries that carry through the piece. A narrow white seam that crosses a dark surface may be a vein. Trace it around the edge and compare the material on both sides. If an entire pebble appears to be made of one pale material, test the visual impression at several points. A photo may reveal a finer matrix or patches of different grains that a single bright reflection hides.
Use the gravel bar as background evidence
A gravel bar is a place where a stream has left sediment. The visible mixture can change with flow and with material delivered by tributaries, bank erosion or older deposits. Photograph the mixture before focusing on one pebble. If several nearby pieces share a conspicuous red and white band, that is useful context. It still leaves room for different materials that happen to share those colors.
Grand Canyon National Park describes how river slope and discharge affect the Colorado River’s ability to move larger sediment. Olympic National Park documents gravel bars on the Elwha in a valley shaped by glaciers. These are examples of different histories behind river gravel. Neither example gives a single rock list for every river, and a deposit beside a river can contain stones moved before the modern channel occupied that spot.
If you know where you were, record the river name and a recognizable reach such as the side of a bridge or an established access point. A nearby tributary is worth noting if it is visible. Compare that record with a local geologic map when you want to investigate possible source rocks. The place where you saw the pebble and the formation where it first developed are separate pieces of information.
Also note how far apart the comparison pebbles are. A seam in a rock that is surrounded by sand records a feature of the specimen. A similar-looking pale line between separate stones may just be sand caught in a gap. One angle low enough to show the gap often answers the question faster than a high-magnification crop.
Work through grains, bands and embedded pebbles
For a pale pebble, start by checking whether the pale area contains small boundaries. In a quartz-rich sandstone, an existing broken edge can expose discrete grains. In quartzite, the surface can look fused and may cut through grains. A heavily cemented sandstone can make that distinction difficult. Compare two edges and record which view actually shows the boundaries before drawing a conclusion.
For a speckled rock, look for a similar mix of visible minerals in several areas. Pale and dark minerals can occur together in granite. If the same minerals gather in streaks or bands that continue around the side, gneiss becomes a useful comparison. A dark vein or a strip of weathering can mimic a band on a single face. A side view helps you see whether the feature persists through the specimen.
For a pebble that appears to contain other pebbles, inspect the edges of the smaller pieces. In conglomerate, the clasts are part of a solid rock and surrounded by a matrix. Take an oblique image of the suspected boundaries. If you are looking at several loose pebbles touching on a bar, you may see a gap or the loose sand underneath. Include enough of the object to show it is one piece.
An example from a mixed stream deposit
Imagine finding a cream pebble with a darker gray line, next to other pale stones. On its dry face the line is narrow and appears to cut across the material. The chipped side has no obvious sand grains at normal viewing distance. You might keep a pale quartz-rich rock and a veined rock as broad alternatives. The fact that its neighbors are pale adds less than the continuity of the dark line.
A useful next photo shows the line where it reaches the side and the best existing break beside a ruler. If the break reveals separate grains, compare the sandstone and quartzite examples. If the line crosses an otherwise uniform mass, record it as a possible seam and retain a broader identification. This way the photos explain why your shortlist changed.
Photograph from a stable place
Choose a stable viewpoint and follow local access rules. A gravel bar that is visible in one visit can be exposed to changing flow. You can often make the useful record from shore, with one frame for the river setting and a second for an accessible specimen. Leave the stone where it is if removal is restricted or the site is sensitive.
For a close-up, place a scale near the rock without covering the feature, or include a known measurement in your notes. Take an overhead view and an angled view of the same spot. Label any wet view. In the photo tool, describe the feature you want checked, such as a seam crossing one surface or smaller rounded clasts within the specimen. Keep a broader candidate when the photo cannot show the necessary detail.